這次來紀錄一下 Laravel 10 CRUD 的基礎範例,建立環境可以參考下面文章連結或是相關文章,那就直接開始。
安裝 Laravel 10
開啟 VS Code 再開啟下面的 PowerShell 輸入下面安裝指令,路徑記得在 laragon/www 下。
composer create-project laravel/laravel l10crud安裝完後在 laragon/www/ 底下就會建立一個 l10crud 的資料夾,在 VS Code 點選檔案->開啟資料夾,選擇 l10crud 資料夾,這樣在 VS Code 左邊就會列出 l10crud 資料夾內的所有的資料夾與檔案,再開啟 PowerShell 就會指向 l10crud 資料夾,修改 l10crud/.env 檔案,設定對應的資料庫連線位置、名稱、帳密。
DB_CONNECTION=mysql
DB_HOST=127.0.0.1
DB_PORT=3306
DB_DATABASE=l10crud
DB_USERNAME=root
DB_PASSWORD=
開啟Laragogo 按下啟動來開啟本地端資料庫,在開啟 HeidiSQL 連線本地端資料庫 127.0.0.1,左邊介面最上從按右鍵,選擇建立新的…>資料庫,跳出視窗輸入資料庫名稱 l10crud 按下確定就完成建立。


安裝 Bootstrap 5 框架
//安裝 Laravel UI
composer require laravel/ui --dev
//生成 bootstrap 框架 包含登入註冊頁面 HTML
php artisan ui bootstrap --auth
//安裝bootstrap ICON
npm install bootstrap-icons --save-dev
//打發時間 dafatime.idv.tw
在 resources\sass\app.scss 檔案最後載入 ICON 連結:
// Fonts
@import url('https://fonts.bunny.net/css?family=Nunito'); //可以將字型換成有支援中文
@import url('https://fonts.googleapis.com/css2?family=Noto+Sans+TC:wght@100..900&display=swap'); //google字型
// Variables
@import 'variables';
// Bootstrap
@import 'bootstrap/scss/bootstrap';
@import 'bootstrap-icons/font/bootstrap-icons.css'; //添加 ICON 加這行
//打發時間 dafatime.idv.tw
可以將與設載入的字型換成 google 字型,這樣中文字會比較好看,顯示中文字不會是細明體,再修改resources\sass\_variables.scss 將原本預設的換成 google 字型如下:
// Body
$body-bg: #f8fafc;
// Typography
$font-family-sans-serif: 'Noto Sans TC', sans-serif;
$font-size-base: 0.9rem;
$line-height-base: 1.6;
繼續安裝 npm 與執行:
npm install
npm run dev
執行後可以看到如下圖結果就表示 Vite 啟動成功:

在 PowerShell 的右上角有個+加的符號,按下後再開啟一個新的終端機輸入指令來啟動服務:
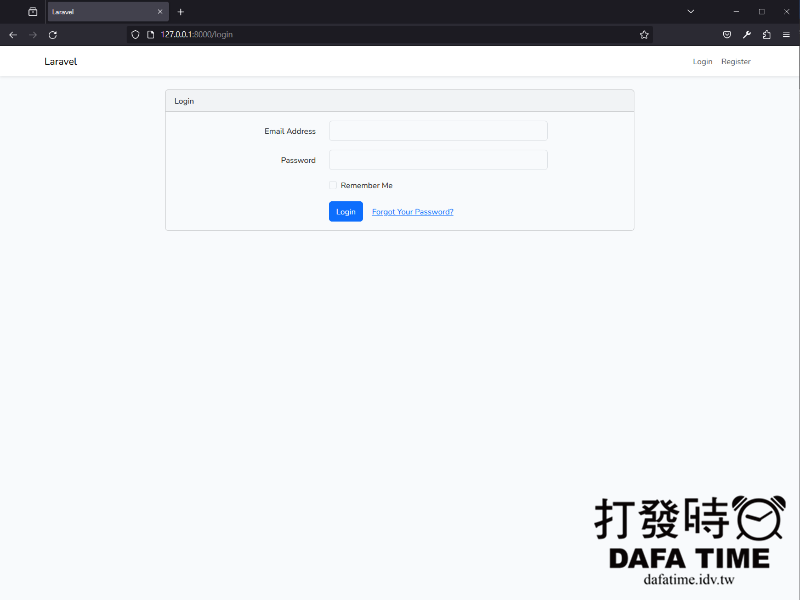
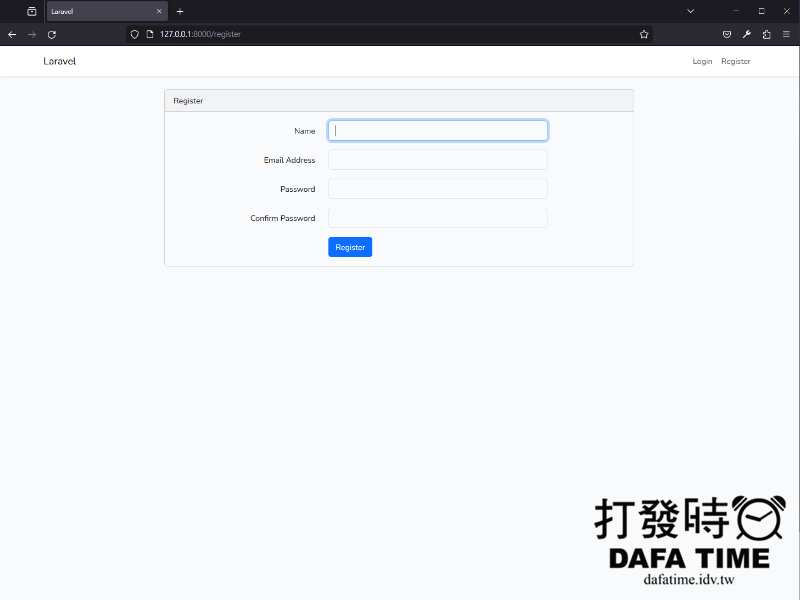
php artisan serve就會看到如下圖,表示服務啟動成功,在瀏覽器輸入 http://127.0.0.1:8000,就可以看到 Laravel 10 的歡迎畫面就表示 Laravel 10 框架正常運作,點選右上角的登入與註冊連結,頁面顯示正常就表示 Bootstrap 5 也安裝成功,後續就是開始建立 CRUD 功能。


建立商品資料
來建立一個商品內容列頁面,來對資料進行讀取、新增、修改、刪除動作。
php artisan make:model Product -rm輸入上面指令,會產生三個檔案 Product.php、ProductController.php、xxxx_xx_xx_xxxxxx_create_products_table.php,分別在 \l10crud\app\Models\、\l10crud\app\Http\Controllers\、\l10crud\database\migrations\ 三個資料夾內。

建立資料庫商品欄位
先到 \l10crud\database\migrations\2024_02_23_135510_create_products_table.php 來添加資料欄位,我的習慣會將欄位寫上註解,資料庫資料表欄位設定參數可以到官網查詢。
public function up(): void
{
    Schema::create('products', function (Blueprint $table) {
            $table->id();
            $table->string('title', 150)->comment('商品名稱');
            $table->decimal('price')->comment('價格');
            $table->timestamps();
    });
}
在app/models/Product.php 內添加第12行程式碼,加入兩個寫入資料庫的欄位名稱,表示這兩個然位可以寫入資料:
<?php

namespace App\Models;

use Illuminate\Database\Eloquent\Factories\HasFactory;
use Illuminate\Database\Eloquent\Model;

class Product extends Model
{
    use HasFactory;

    protected $fillable = ['title', 'price'];
}
添加商品名稱、價格兩個欄位,上面的函式對應著資料庫欄位類型,後面是欄位註解,將檔案儲存。在 PowerShell 輸入:
php artisan migrate這樣會將 Laravel 必要的資料表寫到一開始建立的資料庫內,使用 HeidiSQL 就可以看到 l10crud 資料庫內增加許多資料表,包含商品資料表(products)。

控制器 Controller
開啟 \l10crud\app\Http\Controllers\ProductController.php 檔案來編輯,這裡需要添加程式邏輯 index、create、store、show、edit、update、destroy,檔案內容如下:
<?php

namespace App\Http\Controllers;

use App\Models\Product;
use Illuminate\Http\Request;

class ProductController extends Controller
{
    /**
     * Display a listing of the resource.
     */
    public function index()
    {
        //
        $products = Product::all();
        return view('products.index', compact('products'));
    }

    /**
     * Show the form for creating a new resource.
     */
    public function create()
    {
        //
        return view('products.create');
    }

    /**
     * Store a newly created resource in storage.
     */
    public function store(Request $request)
    {
        //
        $request->validate([
            'title' => 'required',
            'price' => 'required|numeric|min:0',
        ]);
        Product::create($request->all());
        return redirect()->route('products.index')->with('success', '商品建立成功!');
    }

    /**
     * Display the specified resource.
     */
    public function show(Product $product)
    {
        //
        return view('products.show', compact('product'));
    }

    /**
     * Show the form for editing the specified resource.
     */
    public function edit(Product $product)
    {
        //
        return view('products.edit', compact('product'));
    }

    /**
     * Update the specified resource in storage.
     */
    public function update(Request $request, Product $product)
    {
        //
        $request->validate([
            'title' => 'required',
            'price' => 'required|numeric|min:0',
        ]);
        $product->update($request->all());
        return redirect()->route('products.index')->with('success', '商品更新成功!');
    }

    /**
     * Remove the specified resource from storage.
     */
    public function destroy(Product $product)
    {
        //
        $product->delete();
        return redirect()->route('products.index')->with('success', '商品刪除成功!');
    }
}
上述控制器的方式,是使用 laravel 框架簡單寫法,function 使用 $Product,等等再 Route 時必須使用resource(),這種方式就不需要個別建立 Route 頁面路徑。
檢視 View
在 \l10crud\resources\view 資料夾內建立以下檔案,index.blade.php、create.blade.php、show.blade.php、edit.blade.php,對應控制檔案 ProductController.php 內的 view。
index.blade.php 商品列表頁面
@extends('layouts.app')

@section('content')
<div class="container">
    <h1 class="my-4">商品列表</h1>

    @if (session('success'))
        <div class="alert alert-success">
            {{ session('success') }}
        </div>
    @endif

    <a href="{{ route('products.create') }}" class="btn btn-primary mb-3">新增商品</a>

    <table class="table table-striped">
        <thead>
            <tr>
                <th>ID</th>
                <th>商品名稱</th>
                <th>價格</th>
                <th>操作</th>
            </tr>
        </thead>
        <tbody>
            @foreach ($products as $product)
                <tr>
                    <td>{{ $product->id }}</td>
                    <td>{{ $product->title }}</td>
                    <td>{{ number_format($product->price, 0) }}</td>
                    <td>
                        <a href="{{ route('products.show', $product->id) }}" class="btn btn-info btn-sm">查看</a>
                        <a href="{{ route('products.edit', $product->id) }}" class="btn btn-warning btn-sm">編輯</a>
                        <form action="{{ route('products.destroy', $product->id) }}" method="POST" style="display: inline-block;">
                            @csrf
                            @method('DELETE')
                            <button type="submit" class="btn btn-danger btn-sm" onclick="return confirm('確定要刪除嗎?')">刪除</button>
                        </form>
                    </td>
                </tr>
            @endforeach
        </tbody>
    </table>
</div>
@endsection
create.blade.php 商品新增頁面
@extends('layouts.app')

@section('content')
<div class="container">
    <h1 class="my-4">新增商品</h1>

    @if ($errors->any())
        <div class="alert alert-danger">
            <ul>
                @foreach ($errors->all() as $error)
                    <li>{{ $error }}</li>
                @endforeach
            </ul>
        </div>
    @endif

    <form action="{{ route('products.store') }}" method="POST">
        @csrf
        <div class="mb-3">
            <label for="title" class="form-label">商品名稱</label>
            <input type="text" class="form-control" id="title" name="title" value="{{ old('title') }}" required>
        </div>
        <div class="mb-3">
            <label for="price" class="form-label">價格</label>
            <input type="number" class="form-control" id="price" name="price" value="{{ old('price') }}" step="0.01" min="0" required>
        </div>
        <button type="submit" class="btn btn-primary">新增商品</button>
        <a href="{{ route('products.index') }}" class="btn btn-secondary">返回列表</a>
    </form>
</div>
@endsection
show.blade.php 商品顯示頁面
@extends('layouts.app')

@section('content')
<div class="container">
    <h1 class="my-4">商品詳情</h1>

    <div class="card">
        <div class="card-body">
            <h5 class="card-title">{{ $product->title }}</h5>
            <p class="card-text">價格: ${{ number_format($product->price, 0) }}</p>
        </div>
    </div>

    <div class="mt-4">
        <a href="{{ route('products.edit', $product->id) }}" class="btn btn-primary">編輯商品</a>
        <a href="{{ route('products.index') }}" class="btn btn-secondary">返回列表</a>

        <form action="{{ route('products.destroy', $product->id) }}" method="POST" class="d-inline">
            @csrf
            @method('DELETE')
            <button type="submit" class="btn btn-danger" onclick="return confirm('確定要刪除這個商品嗎?')">刪除商品</button>
        </form>
    </div>
</div>
@endsection
edit.blade.php 商品編輯頁面
@extends('layouts.app')

@section('content')
<div class="container">
    <h1 class="my-4">編輯商品</h1>

    @if ($errors->any())
        <div class="alert alert-danger">
            <ul>
                @foreach ($errors->all() as $error)
                    <li>{{ $error }}</li>
                @endforeach
            </ul>
        </div>
    @endif

    <form action="{{ route('products.update', $product->id) }}" method="POST">
        @csrf
        @method('PUT')
        <div class="mb-3">
            <label for="title" class="form-label">商品名稱</label>
            <input type="text" class="form-control" id="title" name="title" value="{{ old('title', $product->title) }}" required>
        </div>
        <div class="mb-3">
            <label for="price" class="form-label">價格</label>
            <input type="number" class="form-control" id="price" name="price" value="{{ old('price', number_format($product->price, 0)) }}" step="0.01" min="0" required>
        </div>
        <button type="submit" class="btn btn-primary">更新商品</button>
        <a href="{{ route('products.index') }}" class="btn btn-secondary">返回列表</a>
    </form>
</div>
@endsection
建立商品 Route 使用 resource
在 \l10crud\resources\view\route\web.php 添加下面程式碼 ,第25行商品 route 使用 resource 的方式包含了商品 CRUD 的控制項路徑 :
<?php

use Illuminate\Support\Facades\Route;
use App\Http\Controllers\ProductController; //添加商品控制

/*
|--------------------------------------------------------------------------
| Web Routes
|--------------------------------------------------------------------------
|
| Here is where you can register web routes for your application. These
| routes are loaded by the RouteServiceProvider and all of them will
| be assigned to the "web" middleware group. Make something great!
|
*/

Route::get('/', function () {
    return view('welcome');
});

Auth::routes();

Route::get('/home', [App\Http\Controllers\HomeController::class, 'index'])->name('home');
//添加連結各個頁面的route
Route::resource('products', ProductController::class);
//打發時間 dafatime.idv.tw
完成上面的程式碼後就可以在 https://127.0.0.1:8000/products 看到列表頁面上的動作如:新增商品、編輯商品、刪除商品,個動作都可以執行。


自定商品 Route 路徑
下面就是列表、新增、編輯、檢視、刪除的路徑分開寫,這樣就可以自訂路徑,注意 route 有 get、post、put、delete 四種動作對應控制器,後面的 name() 方便在檢視頁面的連結管理。舉例:Route::get(‘products/xxx/xxx’,… 前面的路徑怎麼改,在檢視頁面內的連結使用 {{ route(‘products.index’) }} 就會自動對應路徑,減少更改頁面路徑就要到各頁面修改連結路徑。自訂頁面路徑的目的方便設定登入帳號可以使用的權限。
<?php

use Illuminate\Support\Facades\Route;
use App\Http\Controllers\ProductController; //添加商品控制

/*
|--------------------------------------------------------------------------
| Web Routes
|--------------------------------------------------------------------------
|
| Here is where you can register web routes for your application. These
| routes are loaded by the RouteServiceProvider and all of them will
| be assigned to the "web" middleware group. Make something great!
|
*/

Route::get('/', function () {
    return view('welcome');
});

Auth::routes();

Route::get('/home', [App\Http\Controllers\HomeController::class, 'index'])->name('home');
//添加連結各個頁面的route
Route::get('products', [ProductController::class, 'index'])->name('products.index');
Route::get('products/create', [ProductController::class, 'create'])->name('products.create');
Route::post('products', [ProductController::class, 'store'])->name('products.store');
Route::get('products/{product}', [ProductController::class, 'show'])->name('products.show');
Route::get('products/{product}/edit', [ProductController::class, 'edit'])->name('products.edit');
Route::put('products/{product}', [ProductController::class, 'update'])->name('products.update');
Route::delete('products/{product}', [ProductController::class, 'destroy'])->name('products.destroy');
//打發時間 dafatime.idv.tw
基本的 CRUD 功能使用差不多就這些,請享受~!掰~!


